Fold, Shoulder, Ride: Packable Armour for Train-and-Trail Days
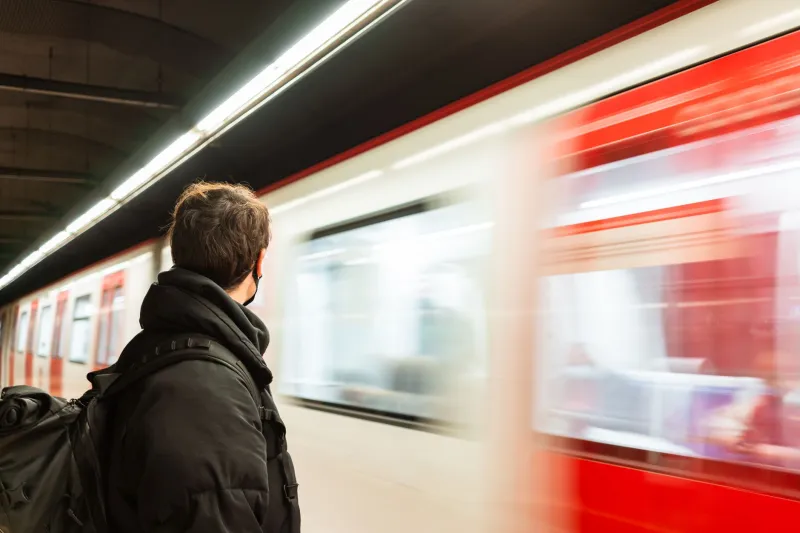
The UK riding day often starts somewhere much less glamorous than a trailhead. It starts on a platform, with a bike, a rucksack and a coffee that is already going cold. If you do not own a van, your armour has to be more than protective. It has to be luggage. It has to fold, carry, tolerate being shoved under a seat and still go on properly when you are standing in a car park with the wind trying to take your jacket off.
That is the train-station test. It is not a lab test and it is not a substitute for buying armour that actually fits. It is simply the reality check that separates kit which works for multi-modal UK adventures from kit which only works when someone else is driving.
Start with the journey, not the descent
Before you look at pads, map the day. Are you taking a train to a trail centre, a bus to a bike park, or splitting fuel with mates in a lift-share? Each one changes the brief. A train gives you space to sit but not much room to swing a loaded rucksack around. A bus is tighter and less forgiving of damp kit. A lift-share means your bag is going in someone else's boot, probably next to a muddy tyre and a half-eaten meal deal.
Count the transitions. Home to station. Station to train. Train to trailhead. Trailhead to trail. Then reverse it, usually wetter and more tired. Armour that is brilliant on the hill but a faff at every transition will slowly stop coming with you. That is the quiet failure mode. The best packable armour is the stuff you do not dread carrying.
What packable actually means
Packable does not mean flimsy. It means the armour understands compression. Soft knee pads with flexible inserts are usually the easiest win because they can be folded or laid flat without turning into a rigid brick. Back protectors are more varied: some roll, some lie flat, some prefer to stay in their natural curve. Check the manufacturer's guidance before you start stuffing anything into a stuff sack like a sleeping bag.
Look at the straps too. Thin, loose straps love to tangle around bottle cages, helmet vents and each other. Wide straps with tidy keepers are easier to manage on a platform. Hinged knee pads can be great on the bike but bulky in a bag. Pull-on sleeves can be light but slower to put on when your hands are cold. There is no single winner. There is only the balance that suits your journey.
Packing order for a rucksack
Put the armour where it does not fight everything else. A back protector laid flat against the back panel can stiffen the carry, which is either useful or annoying depending on your bag. Knee pads can wrap around softer items or sit in a mesh stuff sack so the dirty side stays away from your dry layer. Keep the pair together. Losing one knee pad in a rucksack is a special kind of pre-ride misery.
Use a simple stuff sack or mesh bag for pads. It stops velcro eating your jacket and gives you something to hang out to dry later. If the pads are wet, keep them away from your spare base layer. If they are dry, do not bury them under a water bottle and a lock. You want to reach the trailhead and know exactly where they are.
The platform carry
Test the full load at home before you trust it. Pack the bag, put on your jacket, pick up your bike and stand around for twenty minutes. Then walk up and down some stairs. If the bag is pulling on one shoulder or the pads are digging into your back, you will feel it by the time you reach the ticket barrier.
Keep your hands free. Do not hang knee pads from the outside of your rucksack straps where they can swing into your legs or catch on a barrier. Do not strap armour to the bike frame unless you are happy for it to collect road spray and grit. The point of packable armour is that it travels cleanly, not that it becomes a decorative pendulum.
Fit checks without a changing room
A windy car park is not a fitting room. You need a routine. Start with your base layer already on. Put knee pads over leggings, not bare skin, so they sit where they will sit on the ride. Put shoulder and back protection over the base layer and under your shell if that is how you will wear it. Then run through the same checks every time.
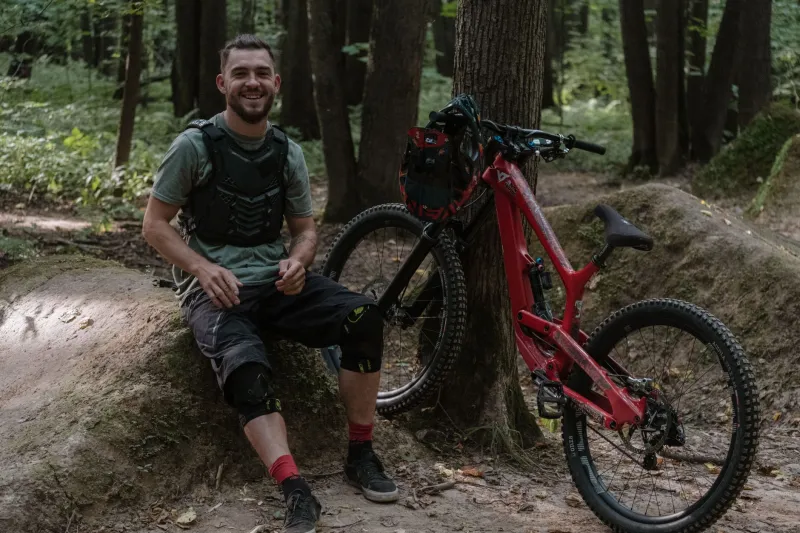
For knees, flex to ninety degrees and check that the pad stays centred over the kneecap. Stand up and pedal an imaginary bike. If the pad drifts down or twists, the straps are wrong or the size is wrong. For shoulders, lift your arms above your head and then rotate them. The cup should cover the point of the shoulder without cutting into your neck. For a back protector, bend forward, look up and twist. It should stay close to your spine and not ride up into your helmet.
Use your phone camera or a shop window if there is no mirror. Better still, ask your riding mate to look. A second pair of eyes catches the gap at the back of the knee that you cannot see yourself.
Build a multi-modal armour kit
The sweet spot is usually a light, flexible knee pad, a low-profile back insert and a shoulder layer that can be worn or carried depending on the ride. Add a mesh stuff sack, a small towel and a spare base layer. That is enough for most UK train-and-trail days without turning your rucksack into a removal van.
If the plan includes a bike park with uplift, you might want more coverage and accept a heavier bag. If it is a gentle gravel route with a cafe stop, do not force full downhill armour into the day just because it is what you own. Match the kit to the risk and the journey. Packable armour should make riding more likely, not less.
The final check
Before you leave the house, do the train-station test in your hallway. Pack it, carry it, put it on, take it off and pack it again. If that feels awkward at home, it will feel worse on a cold platform. If it feels simple, you have probably found armour that will actually come with you. That is the real win. Not the lightest pad on the shelf, but the one that makes the train, the trail and the journey home feel like one continuous day out.