Layers That Breathe: Building a Winter Armour System for Soggy British Trails
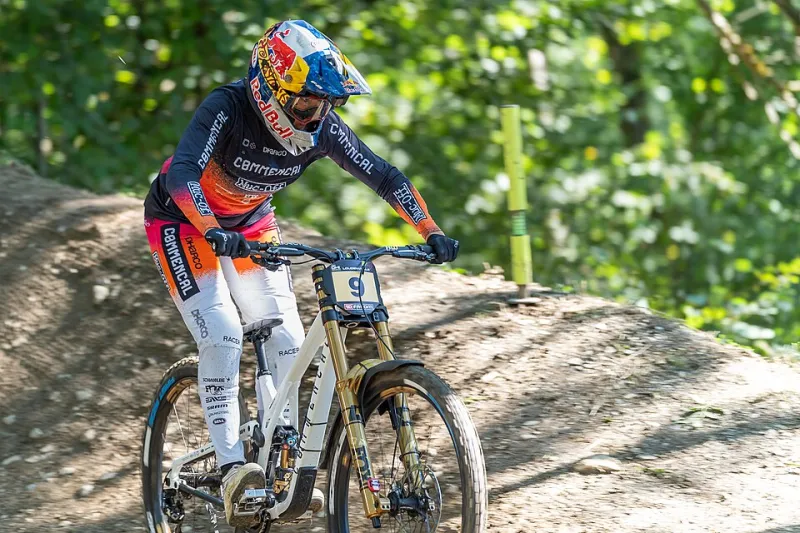
Photo: Hugo LUC, CC BY-SA 4.0, via Wikimedia Commons
The car park at a Welsh trail centre in early November tells you most of what you need to know about winter riding in Britain. Half the riders are standing around in full shells, sweating before they've turned a pedal. The other half are in shorts and a jersey, shivering, because they decided armour plus a waterproof sounded like too much faff.
Neither group is having a good day. The first will be wet from the inside by the second climb and chilled by the first descent. The second will be cold before they reach the trailhead, and will wish they'd worn pads when the front tyre washes out on a wet root.
Layering armour for a British winter is a different puzzle from layering for alpine cold or dry summer dust. Our winters are rarely dramatic — they're persistent. Wind chill, high humidity, temperatures that sit between 2 and 8°C for weeks on end, and rain that arrives sideways. That combination punishes any system that can't dump heat on the climb and hold it on the descent.
Here's how we'd build one.
Start with the base layer, not the pad
Most riders shop protection first and treat everything underneath as an afterthought. Reverse the order.
A winter armour system is only as good as the layer touching your skin. Aim for a 150–200gsm merino or a decent synthetic with a wicking finish, and skip anything cotton entirely — once it's damp it stays damp, and it'll sit under your pads like a cold flannel. Fit matters as much as fabric: a baggy base layer rucks up under a tight armour liner and creates exactly the sort of ridge that turns into a chafe mark after two hours. Short sleeves plus a pair of arm warmers give you a valve to open when the climb gets steep.
Armour close to the body, insulation over the top
The layering order most riders settle on looks like this: base layer, armour, insulating midlayer, waterproof shell.
Keeping the pads directly over the base layer does two jobs. It stops them migrating, and it stops the midlayer from bunching underneath them. The midlayer then goes over the top and can be removed at a summit or stuffed into a hip pack for a long descent where you'll be working. If you're doing uplift days or short shuttle laps you can invert this and wear armour over a thin fleece, but on a trail where you're pedalling for three hours, pads straight over the base layer win almost every time.
That does mean your shell needs to fit over the whole stack. Size for the system, not the jersey alone — but don't oversize so much that you're wearing a sail on the descents.
Breathability is a geometry problem, not a spec sheet number
Every shell has a moisture vapour transmission rate. Almost none of those numbers survive contact with a back protector.
The issue is simple. Most waterproof jackets are designed with a vented back panel or a mesh liner to let heat escape. Put a solid back protector over the top of it and you've sealed the vent. The jacket hasn't got worse; you've just blocked the exhaust.
Two fixes work. First, choose armour with an open, perforated or honeycombed back panel rather than a solid slab, and pair it with a shell that vents at the sides and under the arms rather than relying on the back alone. Second, bin the backpack where you can. A hip pack or frame bag keeps the rear of your jacket clear, and it removes the double layer of harness strap and shoulder pad that turns into a sweaty, rubbing sandwich.
Pit zips are worth more than any claim printed on a hangtag. Open them on the fire road, close them at the top.
Where bulk turns into chafing
Chafing almost never comes from the pad itself. It comes from the stack around it.
- Shoulder pads and pack straps. Two semi-rigid things pressing on the same point for three hours will rub. Wear the pack you actually ride with when you try armour on.
- Elbow pads under shell sleeves. Measure with the jacket on, not in a t-shirt. A sleeve that's snug over a bare elbow will be tight over a pad, and the pad will drag as you pedal.
- Collar and back protector. A high jacket collar sitting on the top edge of a back protector is a classic source of neck rub on head-down climbs.
- Waistbands. Kidney belts, hip pack straps and trouser waistbands all converge on the same few centimetres. Pick one to be the load-bearing layer and keep the rest slim.
Before you commit, put the whole system on and do twenty shoulder rolls and a few deep squats in the shop. If something is going to rub, it'll usually announce itself in the first thirty seconds.
Matching coverage to the ride
There's no single correct answer, but there's a sensible default for each kind of UK winter day.
- Long, pedally trail centre loops. Light knee and elbow sleeves, a low-profile back insert, no shoulder pads. You want coverage that survives a low-speed slip without cooking you on the climbs.
- Red-grade tech at a trail centre. A light full upper with Level 1 limb pads and a Level 1 back, plus knee pads. Check what standard the pads are actually certified to, because "CE approved" on its own doesn't tell you much.
- Steep, slow, rooty descents or uplift days. Level 2 back protection with shoulder and elbow coverage. You'll be standing around more than pedalling, so overheating matters less than impact.
- Moorland epics. Wind resistance first. Anything that goes stiff and board-like in the cold will be miserable by hour three.
The freezing rain problem
Wet is the one thing that quietly ruins otherwise decent armour. Some foams take on water, go heavy and lose the shape that keeps them in place. If you're riding in persistent rain, look for pads with a sealed or water-resistant outer skin, and accept that a soaked pad is a pad that's no longer doing quite the job it was designed for.
Carry a spare pair of gloves, keep a dry layer in the pack for the cafe stop, and accept that on the worst days the goal is to stay warm rather than to stay dry.
The short version
Base layer close-fitting and wicking. Armour next to it. Insulation over the top. Shell sized for the whole stack, vented where the armour isn't. Coverage matched to how fast and how steep the day is going to be. Then check for rub points before you leave the house.
Do that, and the car park at the trail centre stops being a choice between sweating and shivering.