Be Seen, Not Just Covered: Layering Winter Visibility Around Your Pads
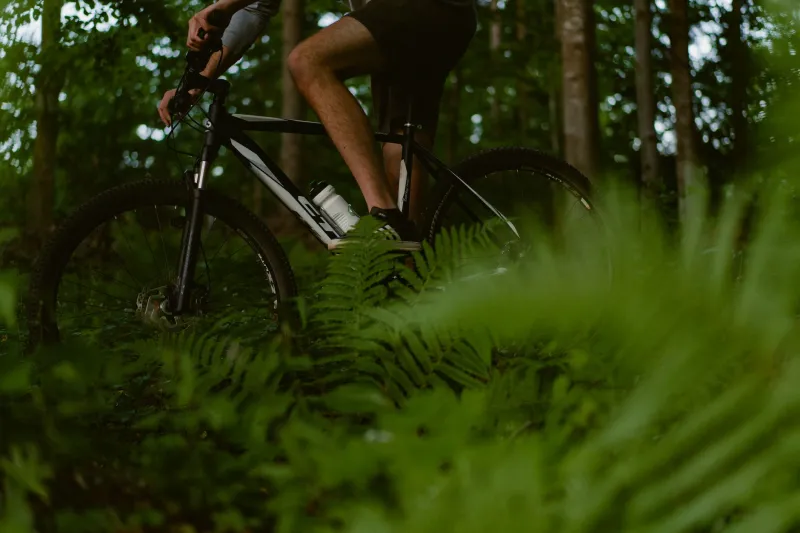
There's a moment every November when the UK riding day collapses. You check the time, realise it's 3:40pm, and the light already has that grey, drained look. If you're wearing black knee pads, a dark shell and a black pack, you're basically a moving shadow. That's not an armour problem, but it is a protection problem. Hi-vis doesn't absorb impact, and reflective tape won't save your collarbone. What it can do is buy you the extra second a driver, dog walker or fellow rider needs to register that you're there. The trick is adding visibility without wrecking the fit and ventilation of the armour you already trust.
Visibility is a separate system
Start by separating the two jobs. Your pads and body armour deal with impact. Your visibility layer deals with being noticed. Trying to solve both with one bulky, fluorescent garment usually ends with a sweaty rider and a pad that has migrated halfway up a shin.
Instead, map where you need to be seen: helmet, shoulders, back, hips, wrists and ankles. Ankles and wrists are underrated because they move, and movement catches the eye. A bright base layer under your armour is often more effective than a hi-vis vest over the top, especially if the vest covers venting or interferes with shoulder straps.
At TPro Body Armour, the view is simple: don't cover the bits that protect you just to add colour. Work around them.
The three-layer visibility approach
A practical winter setup tends to have three parts.
1. Always-on colour
This is the bright base layer, gilet, socks or jersey you wear anyway. A lime or orange long-sleeve under a dark shell gives you flashes at the cuffs and collar. Bright socks are oddly effective in low light, and they don't affect pad fit at all. If you run a pack, consider a bright or reflective pack cover rather than a vest that bunches under your chest protector.
2. Reflective accents
Reflective works when light hits it, which is why it's so useful on towpaths and rural lanes after dark. Ankle bands, wrist bands, reflective patches on a pack and subtle strips on a gilet all help. Avoid sticking reflective tape across hard knee cups or over articulated sections of pads. It won't flex properly, it'll peel, and it may interfere with the shell's movement.
3. Active lights
This is the bit that actually makes you visible in the dark, not just hopeful. A rear light is non-negotiable for early-morning and evening rides. A front light helps you see and be seen, but angle it down so you don't blind people on shared paths. A small helmet-mounted light can be useful for trail centre car parks and unlit fire roads, but keep it on a low setting around others.
Fit checks before you add anything
Before you ride off with a new reflective harness or light bracket, do a five-minute check in the car park.
- Put your armour on first, then the visibility layer. If the order is wrong, straps will sit badly.
- Check that nothing covers the hard shell or impact foam of your knee, elbow or shoulder pads.
- Move through a squat, a high step and a shoulder turn. If reflective tape pulls or a harness lifts your chest protector, bin that setup.
- Check your pack. A loose pack can drag armour upwards; a tight one can compress it. Neither is good.
- Give lights a wiggle test. A rattling bracket will annoy you and may fail when it matters.
On a towpath, keep the beam low and consider a bell. On a trail centre, use the car park and fire roads to check that your rear light is visible from behind when you're crouched over the bike. If a friend can't see you from 20 metres in dim light, neither can anyone else.
Trail centres, towpaths and early starts
Different UK winter rides ask different things of your visibility layer. At a trail centre, the main risks are often in the car park, on access roads and on the ride back to the van when the light has gone. Trees cast heavy shadows, so a steady rear light and something reflective on your moving limbs helps more than a single bright patch on your back.
Towpaths are their own world. Expect pedestrians, dogs, anglers and other cyclists, often in dark clothing. Use a lower light setting, angle the beam down, and don't treat a shared path like a rally stage. Reflective ankle bands are genuinely useful here because they show movement without dazzling anyone.
Early-morning rides bring condensation, cold batteries and muddy kit. Check your lights before you leave, keep spare batteries or a charging cable in your pack, and clean reflective strips once they're grimy. Mud kills reflectivity faster than you'd think. A quick wipe with a damp cloth is usually enough; avoid scrubbing abrasion-prone areas of your pads with harsh cleaners.
A sensible winter 2026/27 starting point
You don't need to buy a whole new wardrobe. Build it in this order:
- A bright base layer or gilet you'll actually wear.
- A reliable rear light and a front light with a dipped setting.
- Reflective ankle or wrist bands.
- A reflective pack cover or clip-on patch.
- A small helmet light for unlit car parks and access roads.
Then test it on a short local ride before committing to a long winter day. The best visibility layer is the one that stays put, doesn't cook you on a climb and doesn't interfere with the armour doing its actual job. Hi-vis isn't armour. But on a dark British trail in winter, being seen is part of riding protected.